
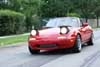
My Slow NA

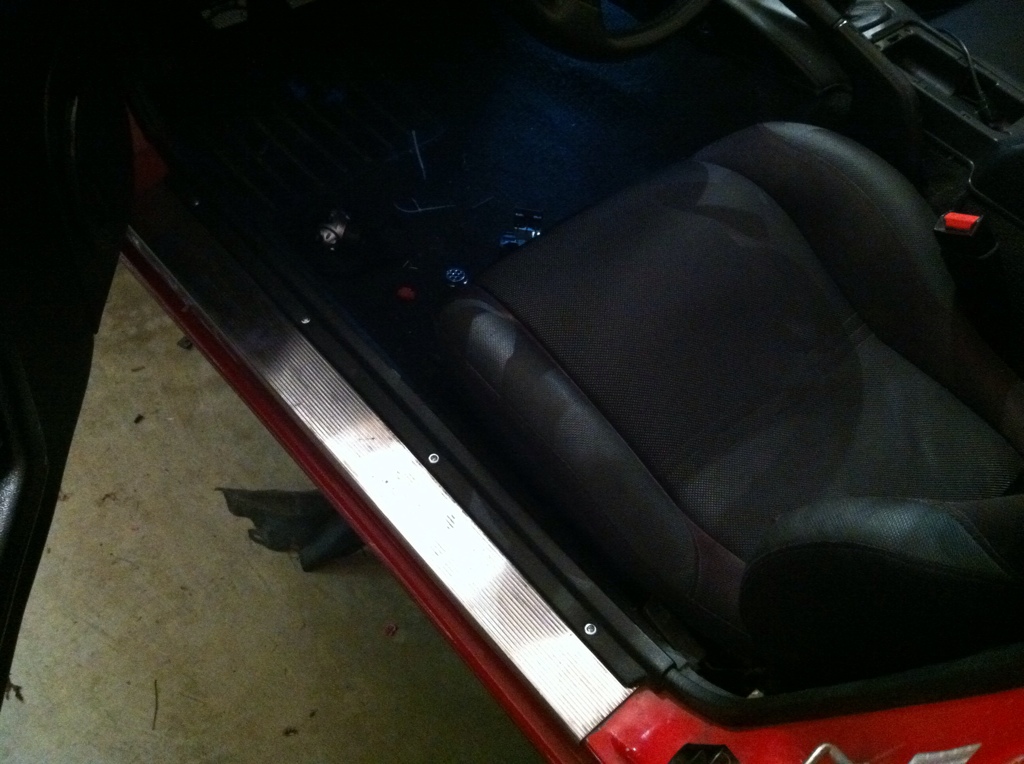
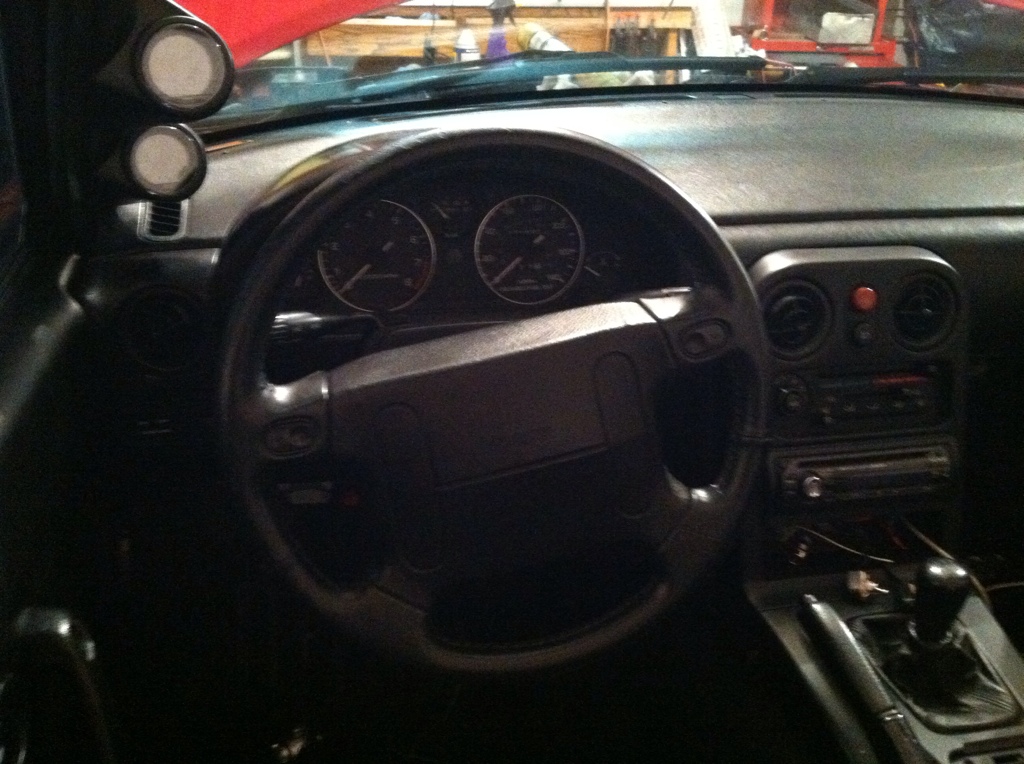
 , interior is almost back together. cleaned the engine bay a bit, simple green ftw.


 01-30-2012, 09:13 PM
#136
MFz Regular

Join Date: Aug 2011
Location: Oregon City, OR
Posts: 200
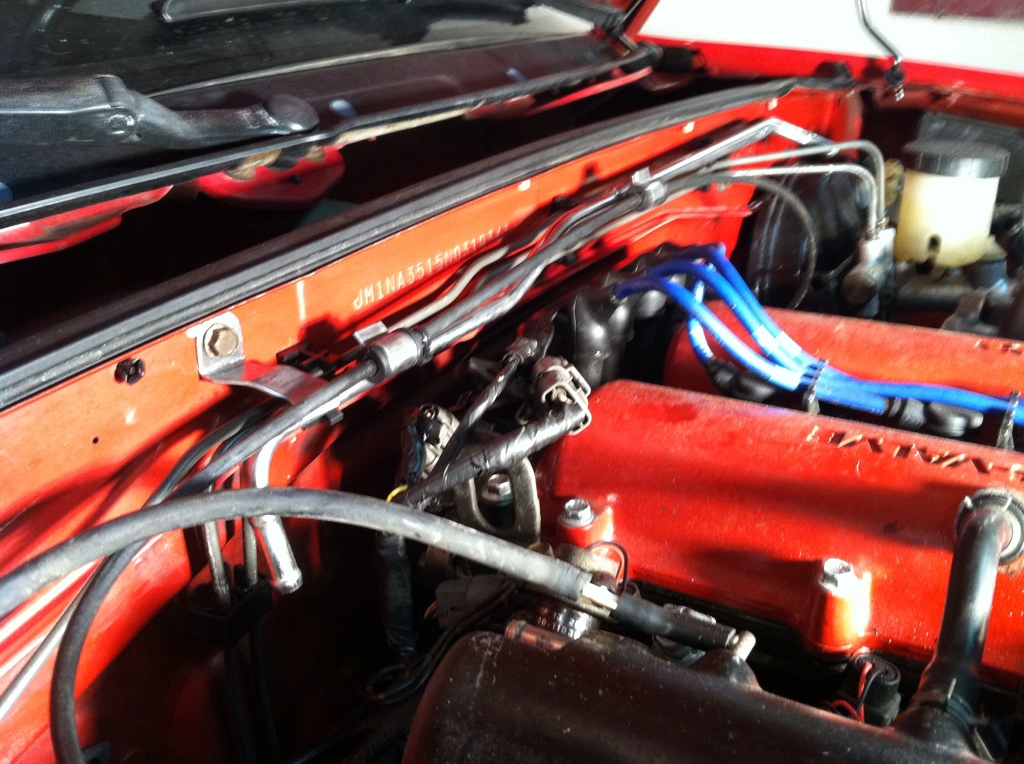
If you're feeling ambitious, all that wiring behind the driver side head light can be routed to the right of the rubber hood stop, to really clean up that area. Probably a hours work if you go slow, but yields good results.
01-30-2012, 10:01 PM
#137
Red To Go

Thread Starter
Join Date: Jul 2011
Location: Canton, MI
Posts: 2,600
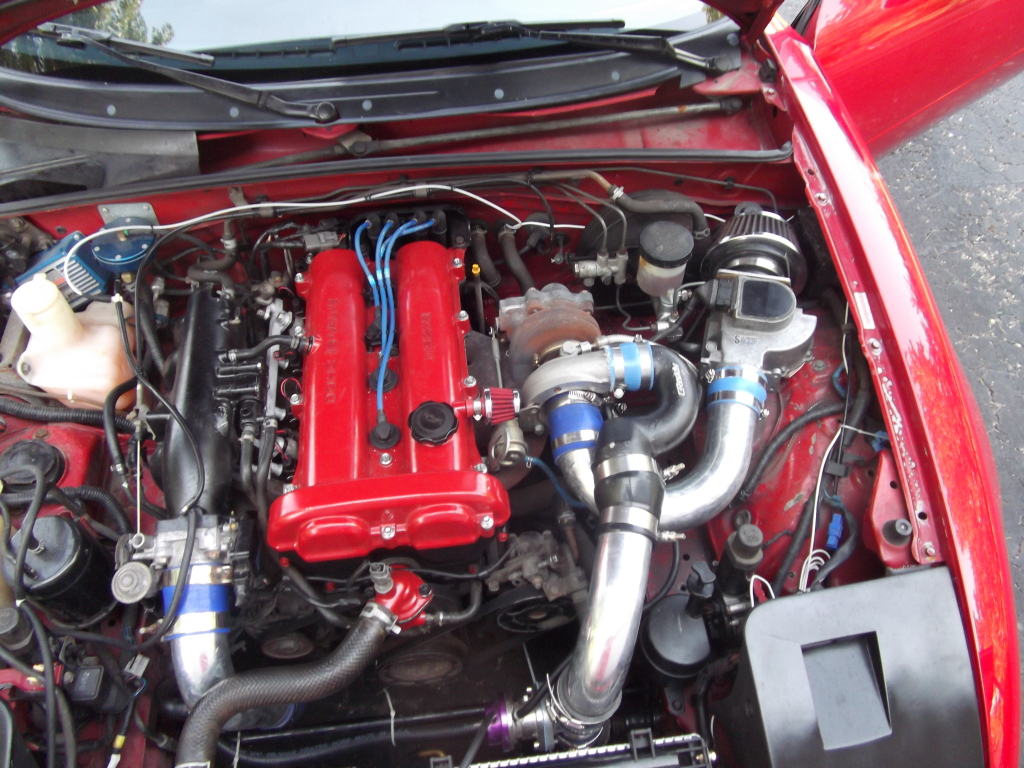
thanks for the advice, im going to build an airbox right behind the light, the car has the vented headlight covers and tsi. might as well use them. i really hate that wiring there though. mazda could have done a much better job from the factory.
02-01-2012, 07:34 PM
#138
Red To Go
Thread Starter
Join Date: Jul 2011
Location: Canton, MI
Posts: 2,600
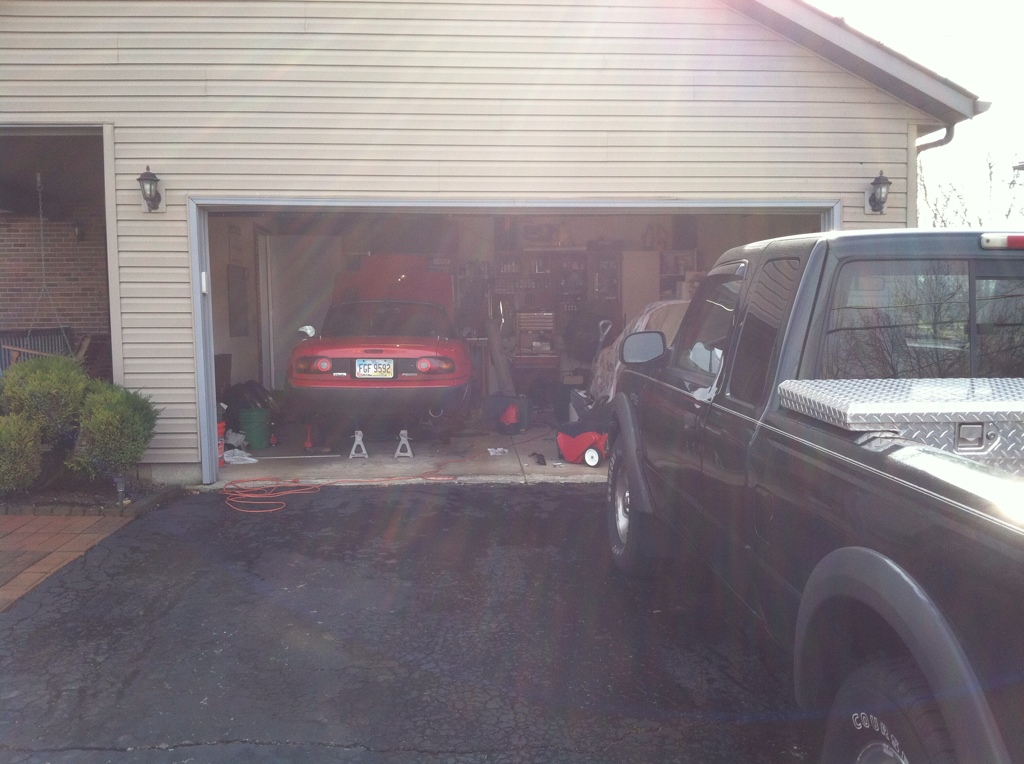
worked in the garage all day with the door open, a very rare occurrence in February i think it hit 60F.
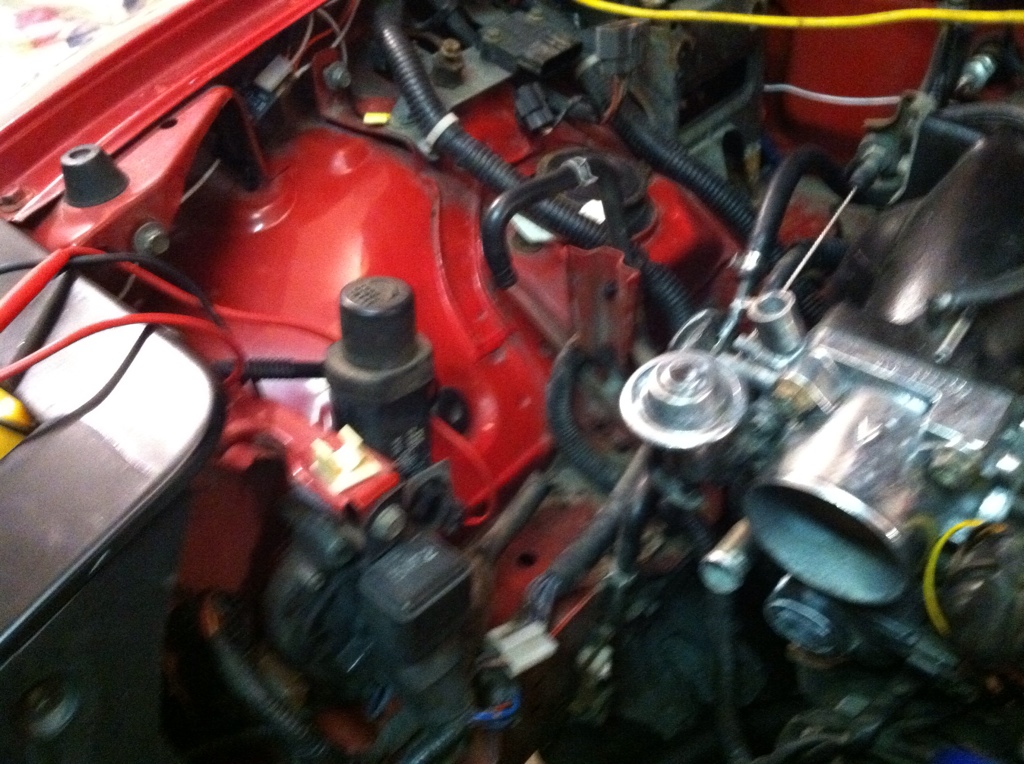
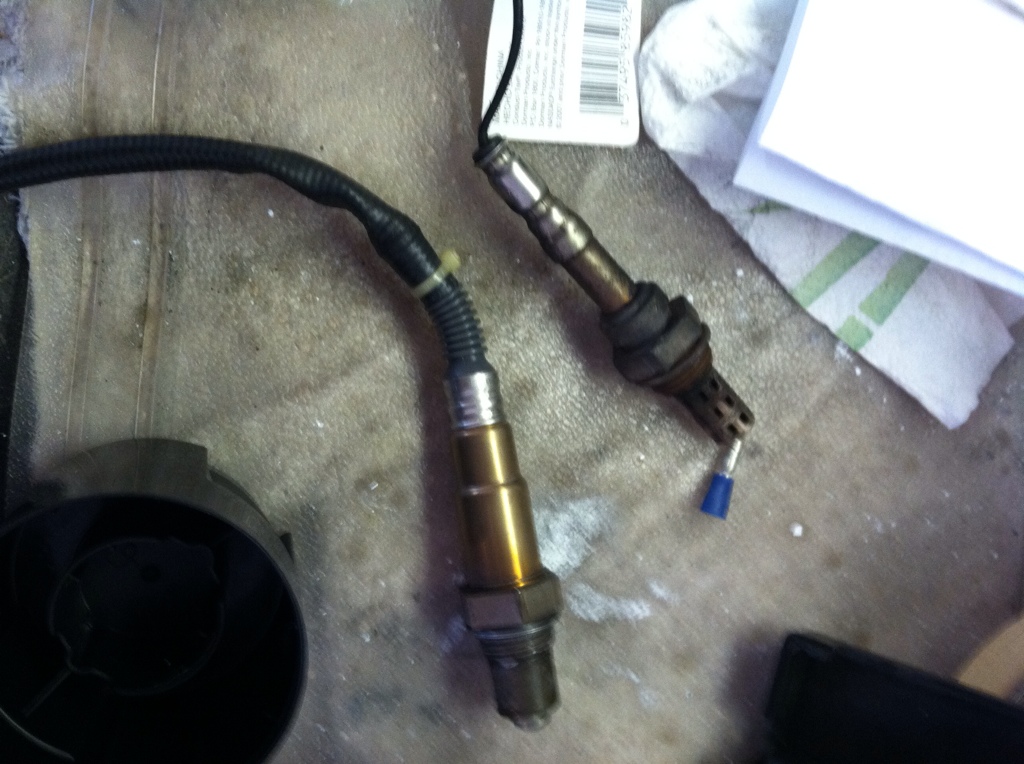
heres a comparison of the stock narrow band to the wideband sensor.
Cleaned a bunch of stuff you cant really see. but makes me feel better.
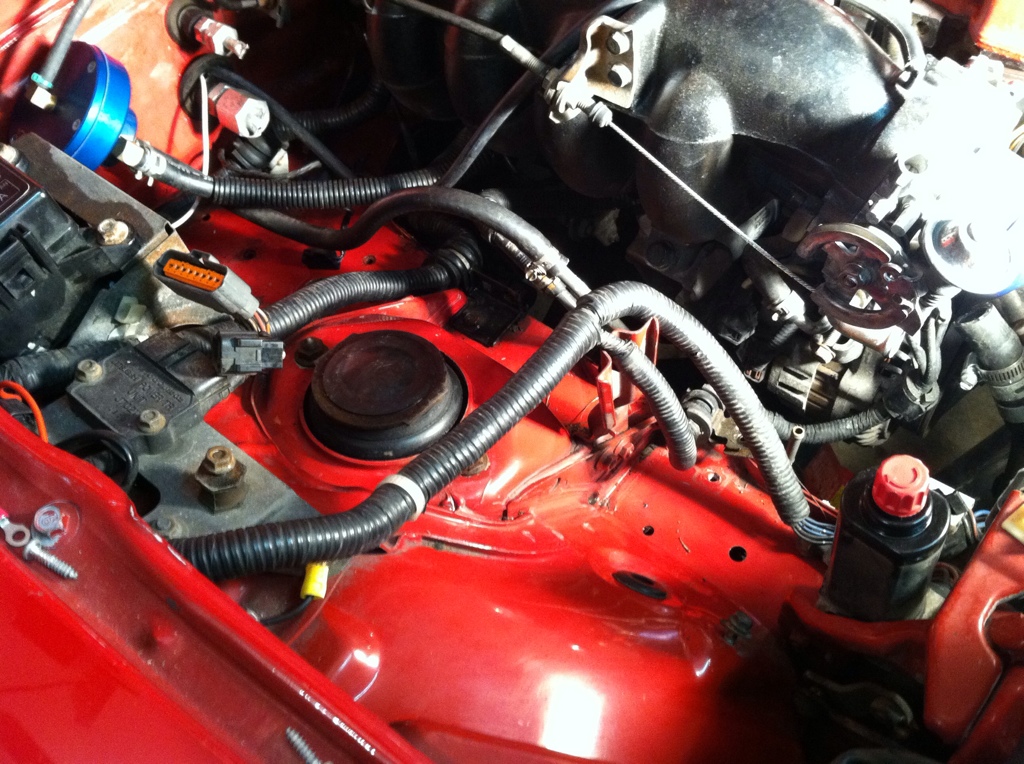
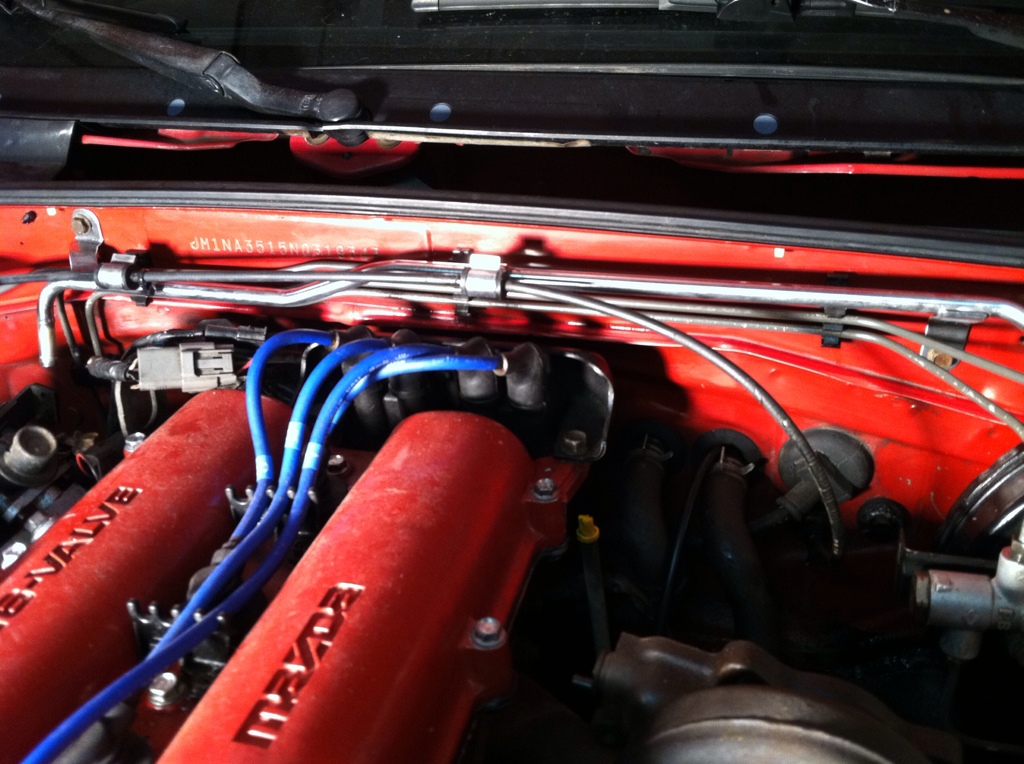
and polished the hard vac line that runs across the firewall.
heres a comparison of the stock narrow band to the wideband sensor.
Cleaned a bunch of stuff you cant really see. but makes me feel better.
and polished the hard vac line that runs across the firewall.
02-01-2012, 10:40 PM
#139
Red To Go
Thread Starter
Join Date: Jul 2011
Location: Canton, MI
Posts: 2,600
care to explain more on this? i looked at it today and unless your talking about opening up the harness and putting it back together on the other side im missing something
02-02-2012, 02:28 AM
#140
MFz Regular
Join Date: Aug 2011
Location: Oregon City, OR
Posts: 200
You unplug the side blinker, parking light, head light motor, head light, and possiBly your horn (don't have one so cant comment). Then put it all to the outside of that little fender bracket, so it's all sort of inside/underneath the fender. In that picture you have a small white zip tie pointing right where it needs to go. I don't think you need to cut and resolder anything. Taking the stock plastic covering crap is probably a good idea, it's generally hard and brittle by now anyways. Rewrapping section of a harness with electrical tape is therapeutic. I think you can do the same on the passenger side, it's only the headlight wiring though.
I can take some pics at home if you'd like.
I can take some pics at home if you'd like.